I’ve been looking more into service mesh most especially with Linkerd, Looking more into what service mesh is all about with it’s core values which are:
- Observability
- Security
- Reliability

The linkerd having the control plane and the data plane, The control plane which is responsible for managing the configuration and policy while the data plane handles the traffic between each service.
The reason, I would prefer to set it up via helm chart over the linkerd cli command is because, it’s easy to manage and advisably for production environments, so when things goes wrong, it can easily be debugged and fixed.
Install Linkerd Utility And Step CLI Via Brew
I am currently using MacOS, So I will be using brew to install the linkerd utility
brew install linkerd
We also need to install step cli, which helps with generating certificate, you can take a look at it via https://github.com/smallstep/cli
brew install step
Install Linkerd Via Helm Charts
We will be setting up the linkerd crds, control plane and viz via the helm chart.
Step 1: Create certificates for mTLS
Generate root certificate and key
step certificate create root.linkerd.cluster.local ca.crt ca.key \
  --profile root-ca --no-password --insecure
Generate intermediate certificate and key
step certificate create identity.linkerd.cluster.local issuer.crt issuer.key \
  --profile intermediate-ca --no-password --insecure \
  --ca ca.crt --ca-key ca.key
Step 2: Add the Linkerd Helm repository
helm repo add linkerd https://helm.linkerd.io/stable
helm repo update
Step 3: Install the Linkerd CRDs
helm install linkerd-crds linkerd/linkerd-crds -n linkerd --create-namespace
Step 4: Install Linkerd control plane with mTLS certificates
helm install linkerd-control-plane linkerd/linkerd-control-plane \
  -n linkerd \
  --set-file identityTrustAnchorsPEM=ca.crt \
  --set-file identity.issuer.tls.crtPEM=issuer.crt \
  --set-file identity.issuer.tls.keyPEM=issuer.key \
  --set identity.issuer.crtExpiry=$(date -d '+8760 hour' +"%Y-%m-%dT%H:%M:%SZ")
Step 5: Install Linkerd Viz extension for observability
helm repo add linkerd-edge https://helm.linkerd.io/edge
helm install linkerd-viz linkerd/linkerd-viz -n linkerd
Step 6: Verify the installation
kubectl -n linkerd get all
linkerd check
Step 7: Verify mTLS is working
linkerd viz edges pod -n linkerd
Inject Linkerd Proxy As A Sidecar
Now, we are done with everything but there’s one more thing to do which is injecting the linkerd proxy into our deployments. Let’s look at different ways of doing this.
Method 1: Inject using kubectl get and apply
kubectl get deploy my-app -n my-namespace -o yaml | \
  linkerd inject - | \
  kubectl apply -f -
Method 2: Annotate namespace for automatic injection
kubectl annotate namespace my-namespace \
  linkerd.io/inject=enabled
Method 3: Manual annotation for specific deployments
apiVersion: apps/v1
kind: Deployment
metadata:
  name: my-app
  namespace: my-namespace
  annotations:
    linkerd.io/inject: enabled
spec:
  template:
    metadata:
      annotations:
        linkerd.io/inject: enabled
    spec:
      containers:
      - name: my-app
        image: my-app:latest
Method 4: Using Helm annotation during installation
helm upgrade --install my-app ./my-chart \
  --set podAnnotations."linkerd\.io/inject"=enabled
Method 5: Batch injection for multiple deployments
#!/bin/bash
NAMESPACE=my-namespace
for deploy in $(kubectl get deploy -n $NAMESPACE -o name); do
  kubectl get "$deploy" -n $NAMESPACE -o yaml | \
    linkerd inject - | \
    kubectl apply -f -
done
Navigating The Visualization Dashboard
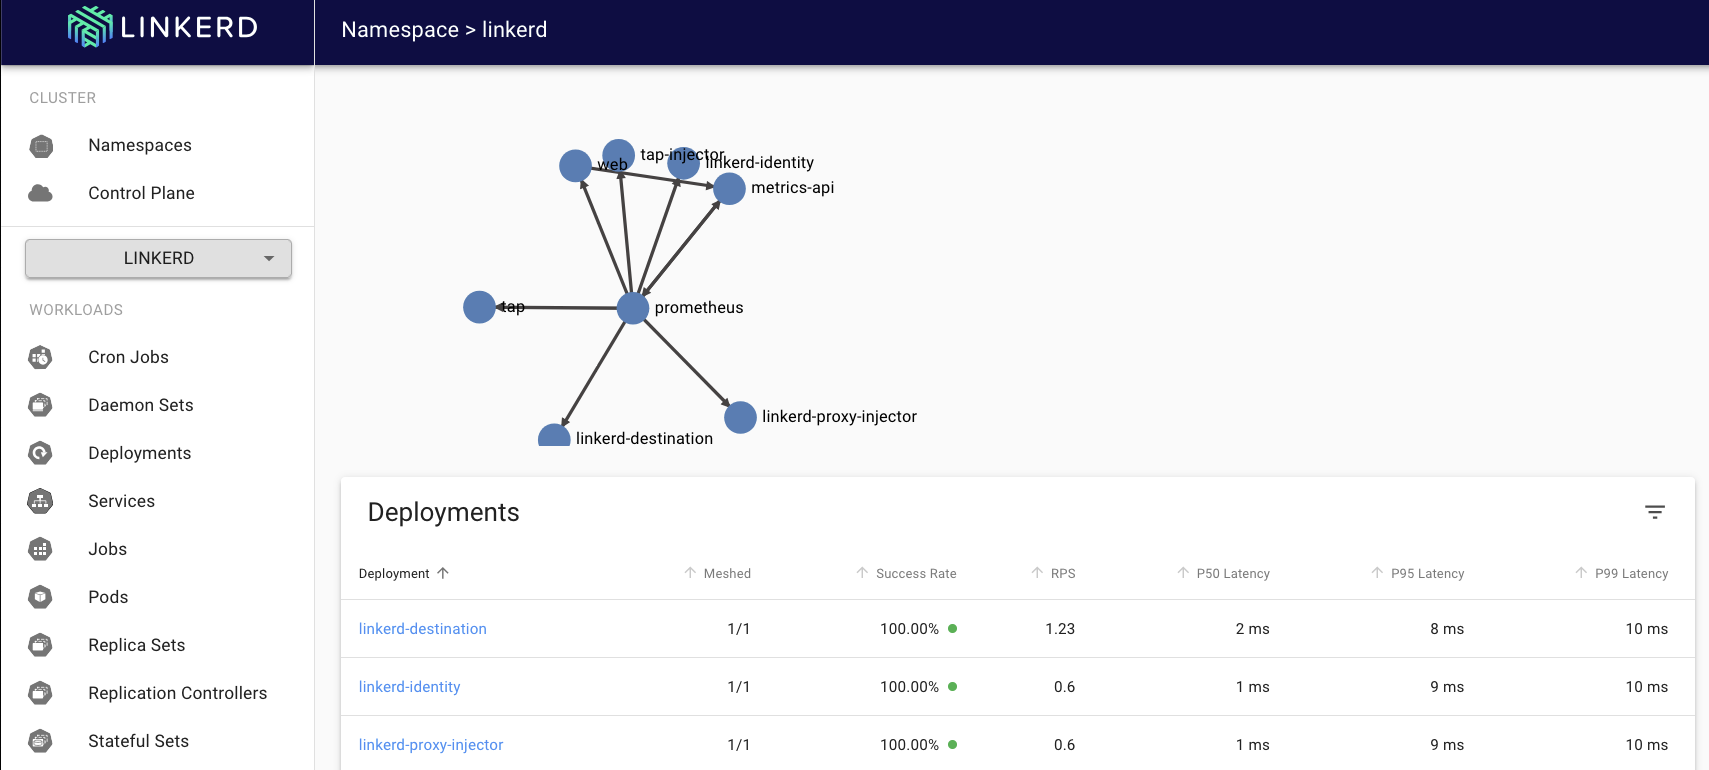
So, Let’s visualize the dashboard via the browser:
kubectl -n linkerd port-forward svc/web 8084:8084
On your browser, you can visit: http://127.0.0.1:8084
Comments: